
an Easy Way to Create Panorama Using Adobe Lightroom
Panoramic scene is always too tempting for us to take. For
those who loves taking photos with their phones, getting panorama is just few
clicks away as most of today’s phones have the feature to do it. how about
those who use DSLR ? Well, we can always take the scene as wide as possible and
then crop it. The problem is, we will eventually lose portions of resolution
and significant details of the image. However, there is actually one simple
steps to create panorama image by using this powerful image editing software;
Adobe Lightroom. This technique basically works by merging multiple images into
one, high resolution image.
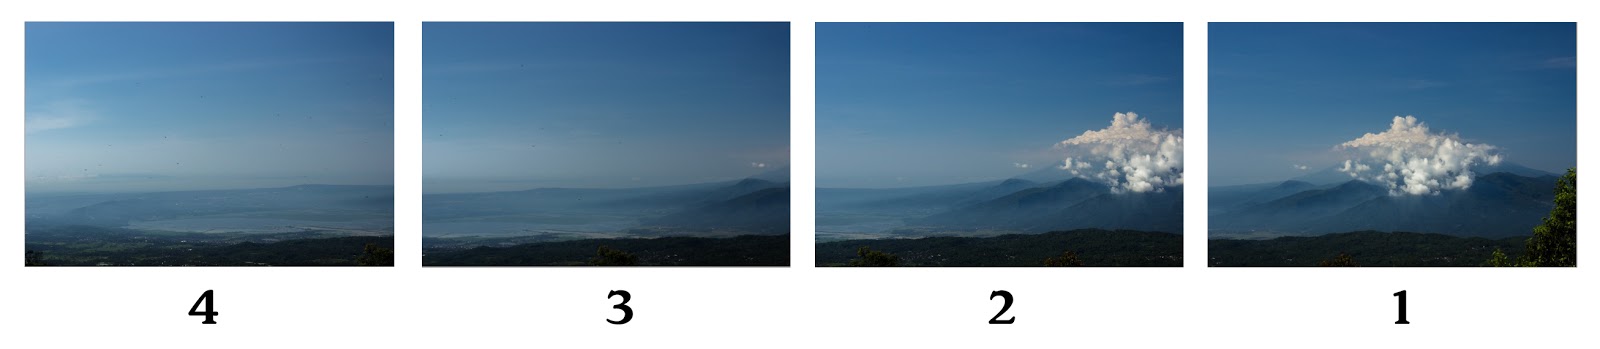
All you need is to get multiple shots that overlaps. In this
case, I’m using the images above which are taken with the same setting. The
number is given to indicate the sequence of the shot, meaning that I took the
right image first and then followed by the rest consecutively.


When you have all the images, export them into Adobe
Lightroom. Select all of them by “Ctrl+Click” on all of the image. Then, you
can click Photo>Photo Merge>Panorama as seen in the picture

There will be pop-up window to choose the setting for your
panorama. I choose the Perspective setting for my image. However, you can try
experimenting with each of them and figure out what works best. Click Merge
button and wait for the process.

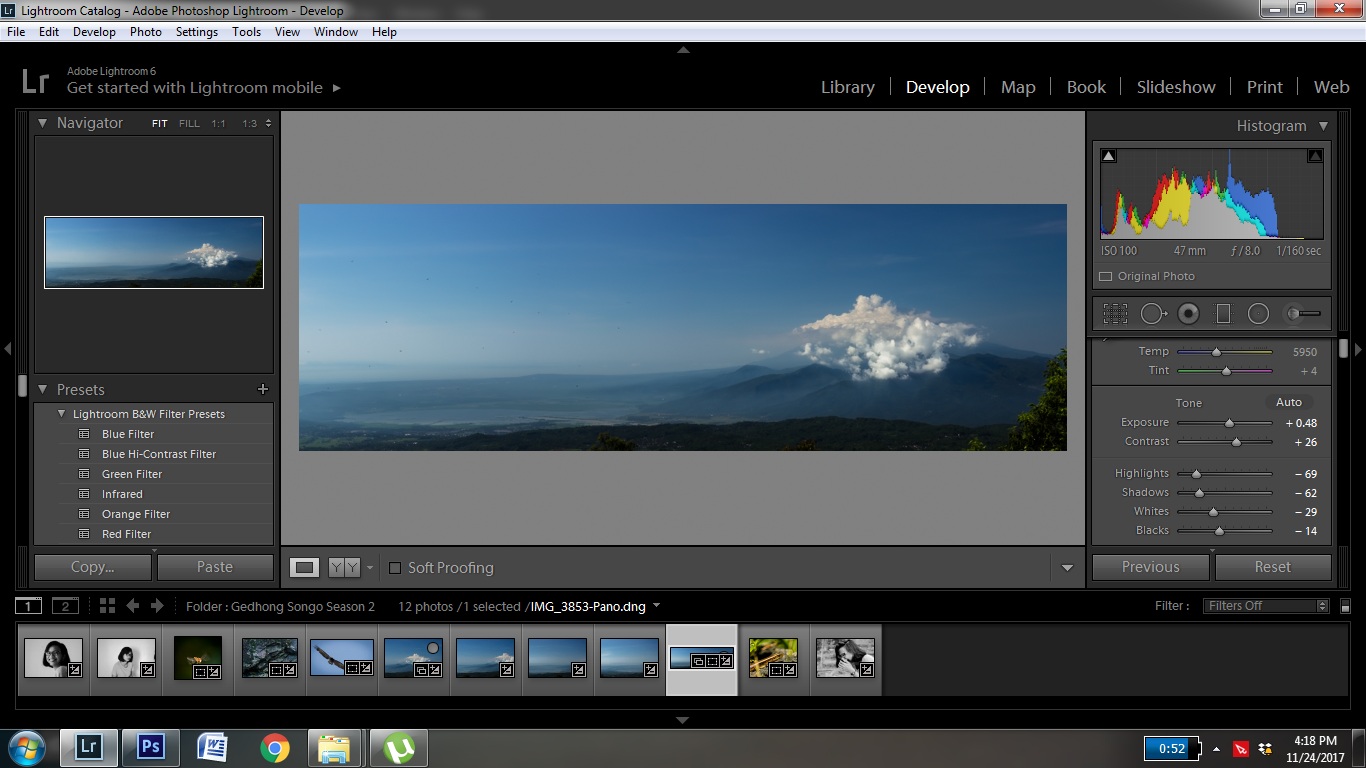
There we go, now you have you completed yet unprocessed
panorama. You can crop the image or make other adjustment to your image. Note
that the output format is .DNG, so that you still have all of your raw data of
the image. Good Luck !


0 comments :
Post a Comment